Pick up two flashlights made from the same block of aluminum, same wall thickness, same threading, same internal parts. One feels like a $200 piece of gear, the other like it came free with a gas station fill-up. Same metal, wildly different value.
That gap almost never comes down to material cost. It comes down to product finishing, an underestimated lever in product development. Whether you’re building a knife, a bracket, or a piece of furniture hardware, the finish is what your customer touches and judges you by. The raw material is invisible to them. The surface is everything.
Why Your Brain Associates Certain Finishes With Quality
Hold a brushed titanium watch case next to a plastic one, and your hand decides before your brain does. The plastic might hold up just as long, but the titanium feels like someone cared more.
A dull, uneven surface gives away that nobody spent much time on it. A consistent matte texture, a crisp edge, a coating that catches light evenly- that combination tells a hand every step was deliberate. This snap judgment lines up with what consumer perception research has found, and it explains why two companies pulling from identical raw stock can charge wildly different prices. The one who invested in surface protection often creates a stronger first impression before a customer even looks at the specifications.
Machining Precision Matters More Than People Assume
Long before a part reaches a coating booth, its fate is more or less already sealed. Tolerances, tool paths, and cutting speed sort of decide the surface the instant it comes off the mill or lathe, like pretty much right away.
Keep tolerances tight, and you get those clean transitions, even the neat radii and square pockets; nothing is left behind from a tool shoved too hard or too fast.
Loosen those tolerances, and it shows fast: uneven gaps, seams that don’t quite line up, light catching the surface differently because the cut drifted. Comparing different manufacturing processes is worth doing before locking in a design, since that decision affects every finishing step down the line.
Surface Finish Is Where the Transformation Happens
A correctly machined part is only half the story. Finishing is what turns something merely manufactured into something that feels premium. Bead blasting, polishing, brushing, and vibratory finishing each throw light off a surface in their own way.
Polish it, and you get a glassy look with sharp reflections. Bead blast it, and light scatters evenly, which hides fingerprints, one reason so much consumer electronics goes this route. Brush it, and directional lines show up that look deliberate rather than accidental. None of these is the “correct” choice; each just suits a different job. A mirror-polished tactical flashlight ends up looking like a novelty toy, while a bead-blasted luxury pen looks like a step got skipped.
Edges matter just as much, since a hand notices them before an eye does. A sharp, unbroken edge reads as an oversight, while a chamfered or radiused one reads as intentional, matching the surface finish standards shops use to keep a run consistent. Unit twelve with a different edge than unit one gets noticed fast.
Coatings Do More Than Add Color
This is where the biggest visible gap between ordinary and expensive-feeling opens up. Cerakote, anodizing, and powder coating each protect a part, but they also tell a hand what kind of product it’s holding.
- Cerakote earns its reputation in firearms, automotive, and industrial work because it bonds to the substrate tightly enough to shrug off abrasion and chemicals that would eat through standard paint. Anyone weighing coatings should understand the benefits of Cerakote before deciding which finish best suits their product.
- Anodizing takes a different approach: an electrochemical process that converts the outer layer of aluminum into a hard oxide coating. Data on oxide layer hardness shows that layer can end up considerably harder than the bare metal underneath, why camera bodies and laptop shells lean on it instead of paint. It isn’t sitting on top of the part. It has become the part.
- Powder coating is the workhorse choice when you need a thick, durable, colorful finish without paying for Cerakote or anodizing. Sprayed on as a charged dry powder and cured under heat, it keeps color consistent across a big batch, a natural fit for enclosures and brackets.
None of the three wins outright. Each gets picked because it matches what a part needs to survive. A crisp laser-engraved logo or serial number on top holds detail a sticker can’t manage, and that small touch often separates a mass-produced part from one someone thought about.
What Commonly Goes Wrong
A few finishing missteps show up on repeat, often running against deburring best practices:
- Skipped deburring. Sharp edges left behind undo a clean machining job in seconds.
- Coating too thick or uneven. Hides the detail it was meant to highlight.
- Inconsistent finishes across a line. No visual thread tying the parts together.
Cheap to fix early. Expensive once a run is already sitting in a warehouse.
Photography Is the Final Finish
All of this only pays off once it reaches a screen, since for most customers a photo is the entire interaction they get before deciding whether to buy.
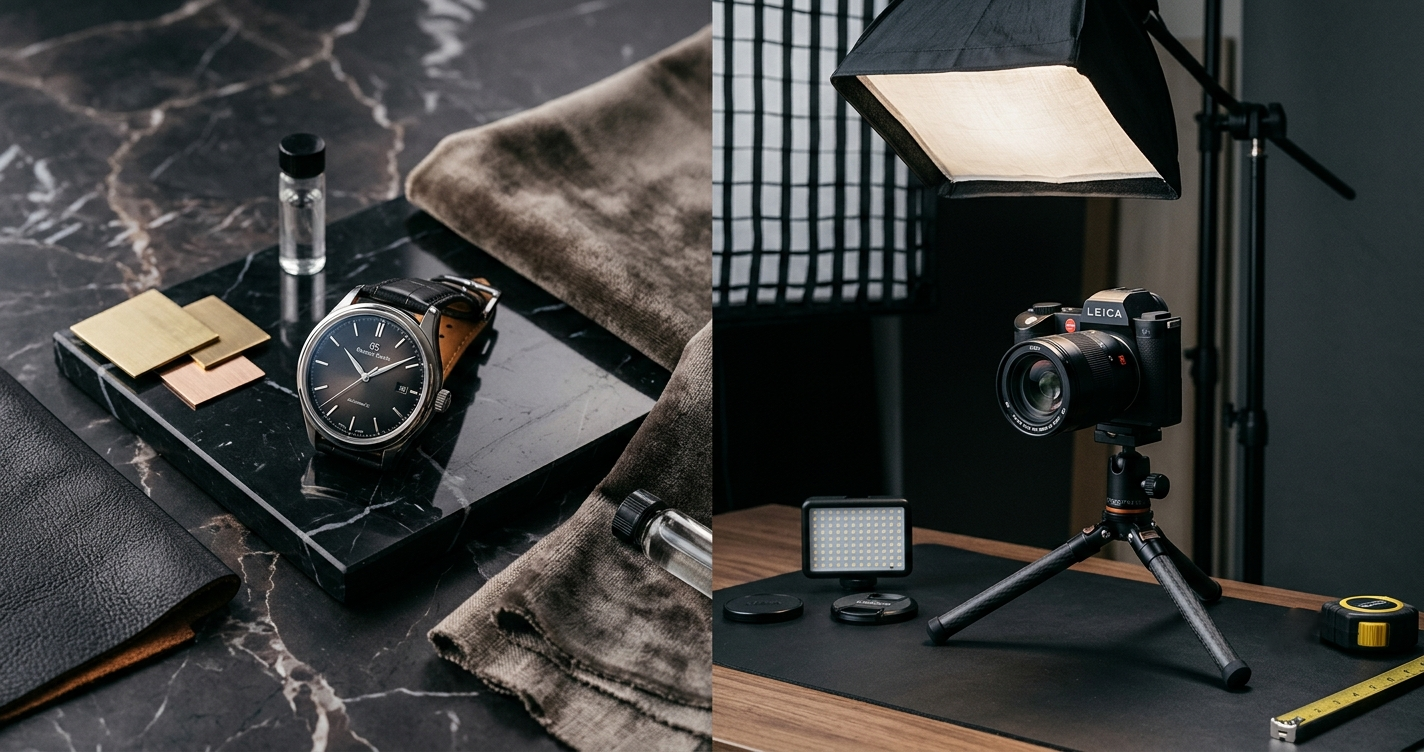
Lighting decides more than people expect. Photograph a part under flat, overhead fluorescent light, and it goes dull and plasticky no matter how much care went into the coating. Angle a softbox so it skims across the surface instead, and the texture shows up: the brushed lines, the sheen, the depth. Same part, same coating, a different impression, just because of where the light comes from.
Angle and background finish the job. The right angle is the difference between a part that reads as three-dimensional and one that looks flat, while a busy background steals attention that should go to the product. Getting that right consistently is part of why product photography services exist as a specialty rather than something anyone can wing with a phone camera.
Good finishing gives a photographer something worth capturing. Thoughtful photography makes sure that work reaches the customer instead of disappearing into a rushed, badly lit shot.
The Real Takeaway
An expensive-looking product isn’t about the cost of its raw material. It comes down to how precisely it was machined, how thoughtfully it was finished, and how well it was presented once it left the shop floor.
Two identical blocks of aluminum can end up worlds apart in perceived value. The difference lives in details most people never think to name: tolerances, edges, coatings, light. Skip a step and the chain weakens. Get it right and you won’t need to explain why your product feels premium. They’ll already know.
Prizma Works: The People Behind the Finish
Prizma Works takes products from early prototypes to finished, market-ready parts. The team handles CNC machining, fabrication, and laser engraving in-house, alongside Cerakote, anodizing, and powder coating, so a product’s finish gets built into the plan from day one instead of bolted on at the end.
Assembly and professional photography happen under the same roof, which is what keeps quality consistent from raw material to the image a customer eventually sees. For founders and engineers who need more than a machine shop, precision machining services built alongside finishing as one connected process tend to show it in the final part.
Frequently Asked Questions
What is product finishing? Product finishing is kind of the last bit in manufacturing, the final step, where you make a product look better, last longer, and often work better too. It might involve polishing, bead blasting, anodizing, powder coating, Cerakote, or laser engraving depending on what the material is and what the part is supposed to do in real life.
So what is the best surface finish for metal products? Honestly there isn’t just one “best” option that wins for every situation. The best choice is more like a match-up based on the surroundings, how tough the part must be, how it should look, and even which metal you’re working with in the first place.
Does product finishing actually improve durability? Yes, it really can. A lot of finishing methods add protection against rust, wear from rubbing, chemicals, moisture, and the normal everyday handling that happens over time. If you pick the right process, it can extend the product lifespan a lot, while keeping the look pretty much the same.
What’s the difference between anodizing and powder coating? Anodizing basically changes aluminum at the surface level by forming a protective oxide layer that becomes part of the metal. Powder coating is different because it builds a protective coating over the surface and it can work on a wider set of metals, plus it usually gives more color choices. So, they’re both protective, but the “how” is kind of opposite.
Why is CNC machining important before surface finishing? Because solid machining gives you clean edges, accurate dimensions, and consistent surfaces, so the finishing process can actually do its job well. Even a top-tier coating can’t completely hide messy machining or inconsistent tolerances, which is kind of the whole point.
And why is product photography important for manufactured products? It’s because customers can’t always touch or see the real textures in person. Good product photos show details like finish, texture, and that real craftsmanship people care about. Strong images also help show quality fast and can pretty strongly affect buying decisions.