A simple look at the product development process, from first sketch to finished part.
Somewhere in your house right now, there’s probably a napkin with a drawing on it, or a voice memo that starts with “okay so hear me out.” That’s how most products start: messy, half-formed, easy to lose.
If your big idea is still sitting in a notebook, you’re in good company. Most people have no idea how to turn an idea into a product. Nobody really taught us. But the product development process isn’t nearly as mysterious as it looks from the outside. It’s a handful of steps, done in order, and none of them require you to be a genius.
Let’s walk through what actually happens between “I have an idea” and “I’m holding the finished thing.”
What Is the Product Development Process, Really?
People make the product development process sound complicated, but it’s not much of a mystery. A rough idea moves through a set of steps until it becomes something real.
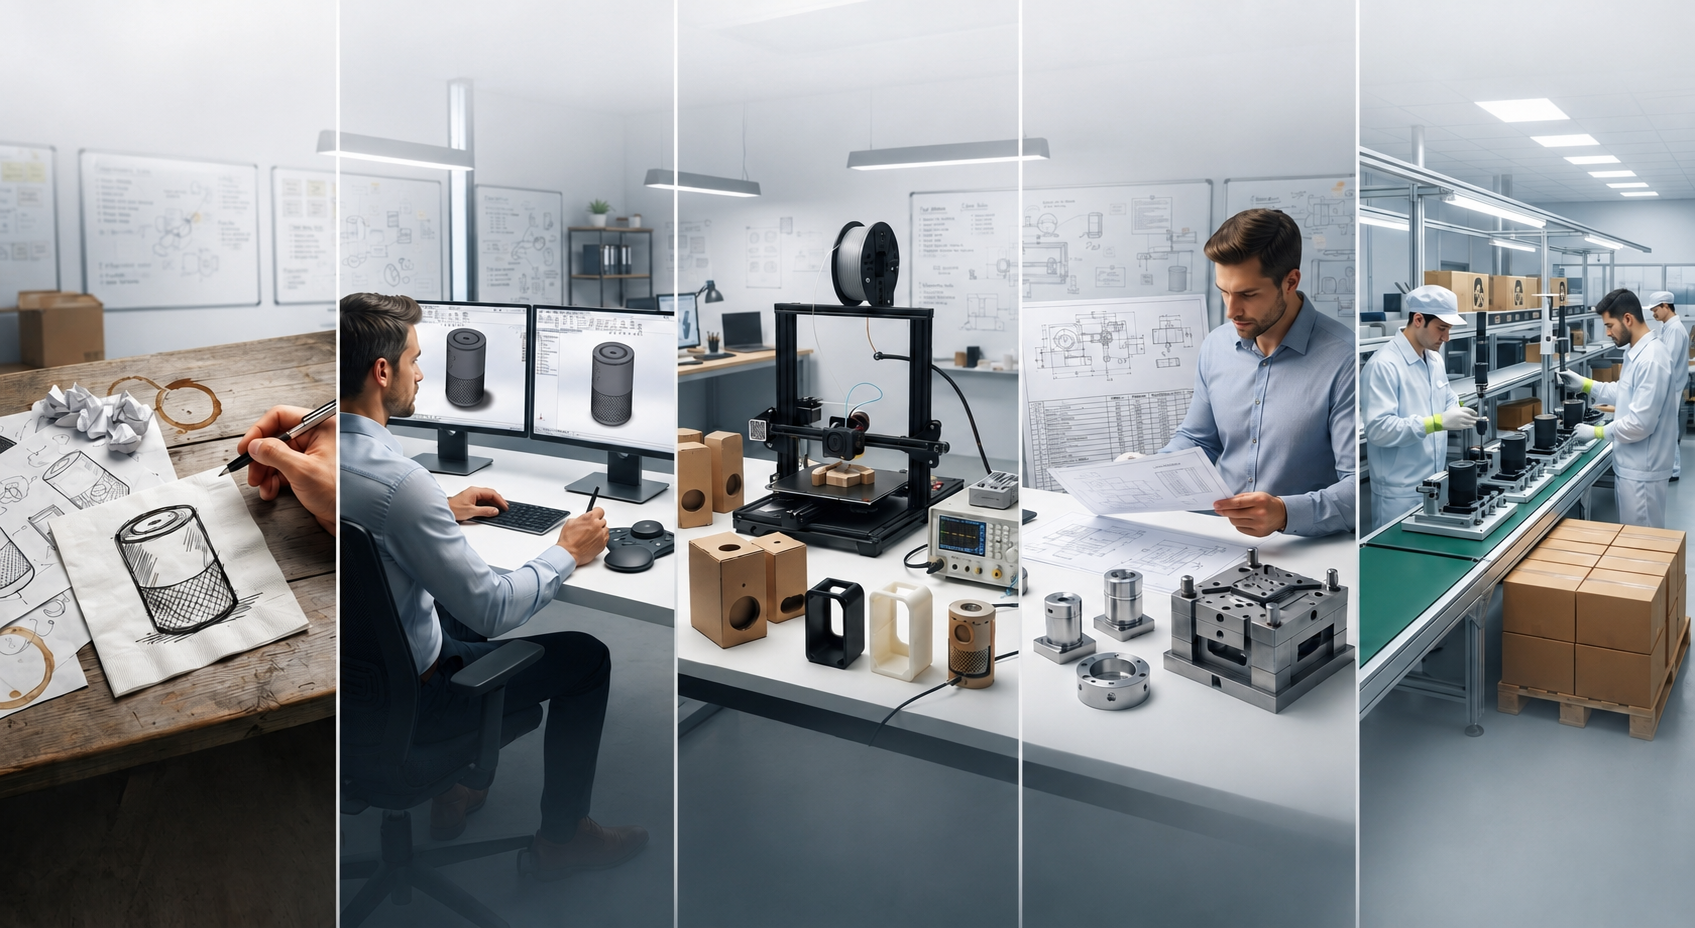
The steps in the product development process go something like this. Sketch it, design it properly, build a rough version, test it until it breaks, fix what broke, then machine it in the real material. After that, you build it the same way, over and over, without the quality slipping.
Said that way, going from concept to production sounds like a lot. In practice it’s smaller, one step leading into the next.
The Sketch and the Spark
Every idea starts out looking rough, and that’s normal. Nobody nails the sketch on the first try. This stage isn’t about getting it right. It’s about getting the thing out of your head and onto paper where you can actually see it.
Maybe it’s a tool that doesn’t exist yet, or a bracket that would fix something annoying at work. Sometimes you can’t explain it out loud, just a shape and a feeling it should work.
Don’t overthink it. Get it down, even if it looks bad.
Turning a Sketch Into a Real Design
A sketch works fine for showing another person what you mean, but a machine needs something far more exact.
That’s the job of CAD design. CAD stands for computer-aided design. It’s basically drafting with real precision instead of a shaky hand. Using digital design tools makes it easier to create accurate models, make changes quickly, and prepare designs for manufacturing. Once the design is finalized, it becomes engineering drawings that machinists use to build the part. It isn’t the flashiest step, but it’s where the product design process really comes together because small mistakes are caught here instead of on the shop floor.
From there, the design turns into engineering drawings, the blueprints a machinist reads to build your part. Not a glamorous step, but it’s where the product design process earns its keep, since small mistakes get caught here instead of on the shop floor.
Building Something You Can Actually Hold
This is the part everyone secretly likes best, going from a screen to an object you can hold.
Most of the time, that first product prototype comes out of a 3D printer. A 3D printing prototype is quick and cost-effective, making it easy to check the size, fit, and overall design before investing in full production. Technologies like SLA and FDM can turn a CAD file into a physical part in a matter of hours or days, making them one of the fastest ways to test an idea. That’s how product prototypes are made in many industries today.
You’ll often hear this called rapid prototyping. It has become a key part of modern product development because it allows designers and engineers to build, test, and improve ideas much faster than traditional manufacturing methods. As additive manufacturing continues to evolve, it’s becoming an increasingly valuable tool for developing new products before moving into production. It’s still one of the quickest ways to find out whether an idea works outside your head.
Testing, Breaking, and Fixing
Here’s something nobody tells you going in: your first prototype probably won’t be great, and that’s not a failure, just how this works.
This stage is basically functional testing with a bit of destruction involved. You use the part, push on it, twist it, drop it, and see where it flexes, cracks, or feels off. Then you go back and change something.
That loop has a name: iterative design. Build, test, tweak, repeat, until it works right. Each pass is a bit of design refinement, and this whole phase, sometimes called design validation, is what separates a good idea from an actual product.
CNC Machining and Precision Manufacturing
Once your design survives testing, it’s time to make it for real, the point where things shift from prototype to production and precision stops being optional.
CNC machining services take your finished design and cut it from metal or hard plastic, guided by computer. CNC stands for computer numerical control. The machining accuracy it achieves is hard to picture until you’ve seen it happen. People often call this precision machining, the quiet backbone behind most manufactured parts you’ve touched.
Tolerances matter a lot here too. A tolerance is the tiny bit of acceptable wiggle room in a measurement. Getting it right is a bigger deal than it sounds because even a small variation can affect how a part fits or performs. That’s why precision measurement plays such an important role in manufacturing, helping ensure parts are made consistently and fit the way they were designed to. Material selection matters too. What your part needs to survive, how much stress it’s under, and where it ends up living all help determine which material makes the most sense.
Material selection matters too. What your part needs to survive, how much stress it’s under, and where it ends up living all shape which material makes sense.
Custom Fabrication and the Finishing Touches
Not everything fits a standard mold, which is the whole point of custom fabrication. It’s why custom manufacturing exists: building a part around your product instead of forcing your product into something generic.
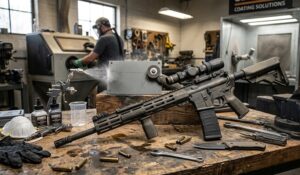
Once a part comes off the machine, it often needs a bit more work, maybe a logo or serial number, which is where laser engraving comes in. Or a rugged, good-looking coat that holds up outdoors, where Cerakote finishing earns its keep.
All of that falls under surface finishing, and it’s genuinely the difference between something that looks like a prototype and something that looks like it belongs on a store shelf.
Quality Control and Getting to Production-Ready
Nothing ships without passing quality control first. That’s a fancy way of saying every part gets checked against the design, every single time, no exceptions.
Reaching production-ready status means your part has moved past “working prototype.” Now it’s something built the same way, again and again, without surprises. That consistency is the point of a solid production workflow.
This is also where it pays to have one real manufacturing partner instead of five vendors who’ve never spoken to each other. A custom product manufacturing process runs smoother when one team handles design, prototyping, machining, and finishing under one roof. That’s part of why CNC prototyping services and full production often live in the same shop. Moving from prototype to full production is easier when nothing changes hands along the way.
Your Idea Deserves the Full Journey
That napkin sketch in your car, or the note buried somewhere in your phone, is worth more than you probably think. The product development process is really just a string of honest steps that turn a rough idea into something real. Sketch it, design it, prototype it, test it, refine it, machine it, finish it. None of it happens overnight, but it’s not out of reach either.
Got an idea you’re ready to talk through? Reach out to Prizma Works, we’d like to hear about it.
FAQs
How do you turn an idea into a product? First, you kind of Sketch it out,then you shift into a real CAD design. After that, you build a prototype, test it pretty hard, improve it, and then manufacture the last version .
What is the product development process? It’s basically the entire route a product takes from a messy idea to a completed, factory-made item, it includes design prototyping testing and then production.
How long does prototyping take? Honestly it depends on how complex it is. Like 3D printed prototypes can be ready in a few days. But if you’re doing machined prototypes with tighter tolerances, they often drag on longer.
When should you use CNC machining instead of 3D printing? If you want fast, early concept parts, 3D printing is great for quick rough versions. Once you need sturdier materials, more precise tolerances, or something that’s pretty much the final product look wise, CNC machining usually fits better.
What happens after a prototype is approved? The design goes into production. That means machining, then those finishing bits like engraving, coatings, and so on, plus the quality checks right before final assembly.
How much does it cost to develop a product? The price swings a lot based on complexity, materials, and how many iteration cycles of prototyping you end up needing. The simplest path to a real estimate is to walk us through your specific idea.